- Call Us : (403) 404.7138 Fax: 403-460-7138
- Email Us : info@aarohicorporation.com
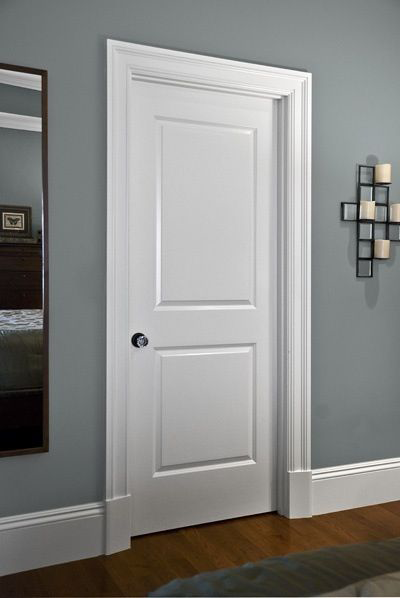
INSTALL A NEW DOOR IN AN EXISTING FRAME
If you've decided to replace only the door, not the jambs and trim, the most important job will be measuring. You must replace the old door with another of exactly the same size. Keep in mind that this is a more difficult project than installing a prehung door, since the hinge relief mortises must be cut with precision. Installation of a doorknob is also more involved with this method.INSTALLATION PROCEDURES
Step 1
Measure the existing frame down both sides and across the top and bottom. The door's corners should be close to square, but don't make that assumption. If the old door doesn't fit well, measure the opening across the top, bottom and along both sides.
Step 2
Draw a sketch of the door or opening on a piece of paper, and label each side with its corresponding measurement. Take this paper with you when you purchase your door so the sales associate can help you find a door that's the right size.
Step 3
It may be necessary to trim the new door to size. Also, if the door frame is out of square (if you get different values for corresponding measurements of the door or opening edges), it may be necessary to fine-tune the fit before installing the door. You'll have to do this at home.
Step 4
Remove the old door from the opening by unscrewing the hinges from the back edge of the door. Don't take them loose from the door jamb.
Step 5
Check the fit of the new door in its frame by temporarily putting it in place and supporting it on wedges. There should be a clearance at the top and sides of about 1/16-in. The clearance below the door should be about 1/4-in, or a little more for doors that must swing over carpeted floors.
Step 6
If the door scrubs against the jambs in a place or two, or if the top of the door is out of line with the top of the opening, fine-tune the fit by shaving the door edges in those areas with a sharp plane. Bear in mind that wood expands in high humidity. You don't want a wooden door so tight in the frame that it will catch on rainy days.
Step 7
After the door is properly fitted and temporarily wedged in place in the frame, use a 4d nail or a quarter to maintain the right gap at the top. Transcribe the position of the hinges onto the door. Be careful, because the hinges must be placed exactly.
Step 8
From outside the door, while it's still in place and against the hinges, pencil a mark down each hinge where it meets the door face. By measuring the distance from this mark to the edge of the hinge leaf, you'll determine the width of the hinge relief mortise for each hinge.
Step 9
Remove the door.
Step 10
Using the marks you placed to align the hinges and the measurements of the hinge leaf, mark the location of the hinge relief mortises on the door edge.
Step 11
Remove one of the hinge leaves from the doorway by pulling the hinge pin. If the pin isn't removable, remove the entire hinge. Use your hinge or hinge leaf as a guide in the next several steps.
Step 12
Scribe along these lines with a sharp knife, and carefully remove the waste wood with a chisel to the depth of the hinge leaf. The hinge should be able to fit into the mortise so that its leaf is flush with the edge of the door.
Step 13
Again using your hinge leaf as a guide, mark the location of the pilot holes for the attachment screws in each of the relief mortises. Drill a 1/8-inch pilot hole for only the center screws of the top and bottom hinges.
Step 14
Reinstall the hinge or hinge leaf on the door frame.
Step 15
Shim the door in place at a right angle to the door frame. You may need a helper to do it. The door should fit right up against the hinges with the hinges recessed inside the hinge relief mortises, just as if the door were actually attached and open. Install the center screw only for the top and bottom hinges.
Step 16
Check the door operation. It should open and close smoothly. If the door strains against the hinges when closed, insert thin cardboard shims under the hinges and try again. When the door operates smoothly, install the rest of the hinge screws.
Step 17
Install the doorknob. This will require that you accurately locate and bore holes for the placement of the knob and latch assemblies. Read More